BlackBerry Pi Cyberdeck Build
Here is the list of components. Note that some of these are affiliate links, so I may earn a small
commission if you buy. That would support me, as well as not cost you any extra :)
First, you need a Raspberry Pi Zero 2 W. These are HARD to find right now in May 2022, so
good luck and I hope you can find one or already have one.
Next, here’s the case I used: https://amzn.to/3anZ4n8
The reason for the case is 1) cooling the Rpi, and 2) it makes attaching it to the battery bank so
much easier!
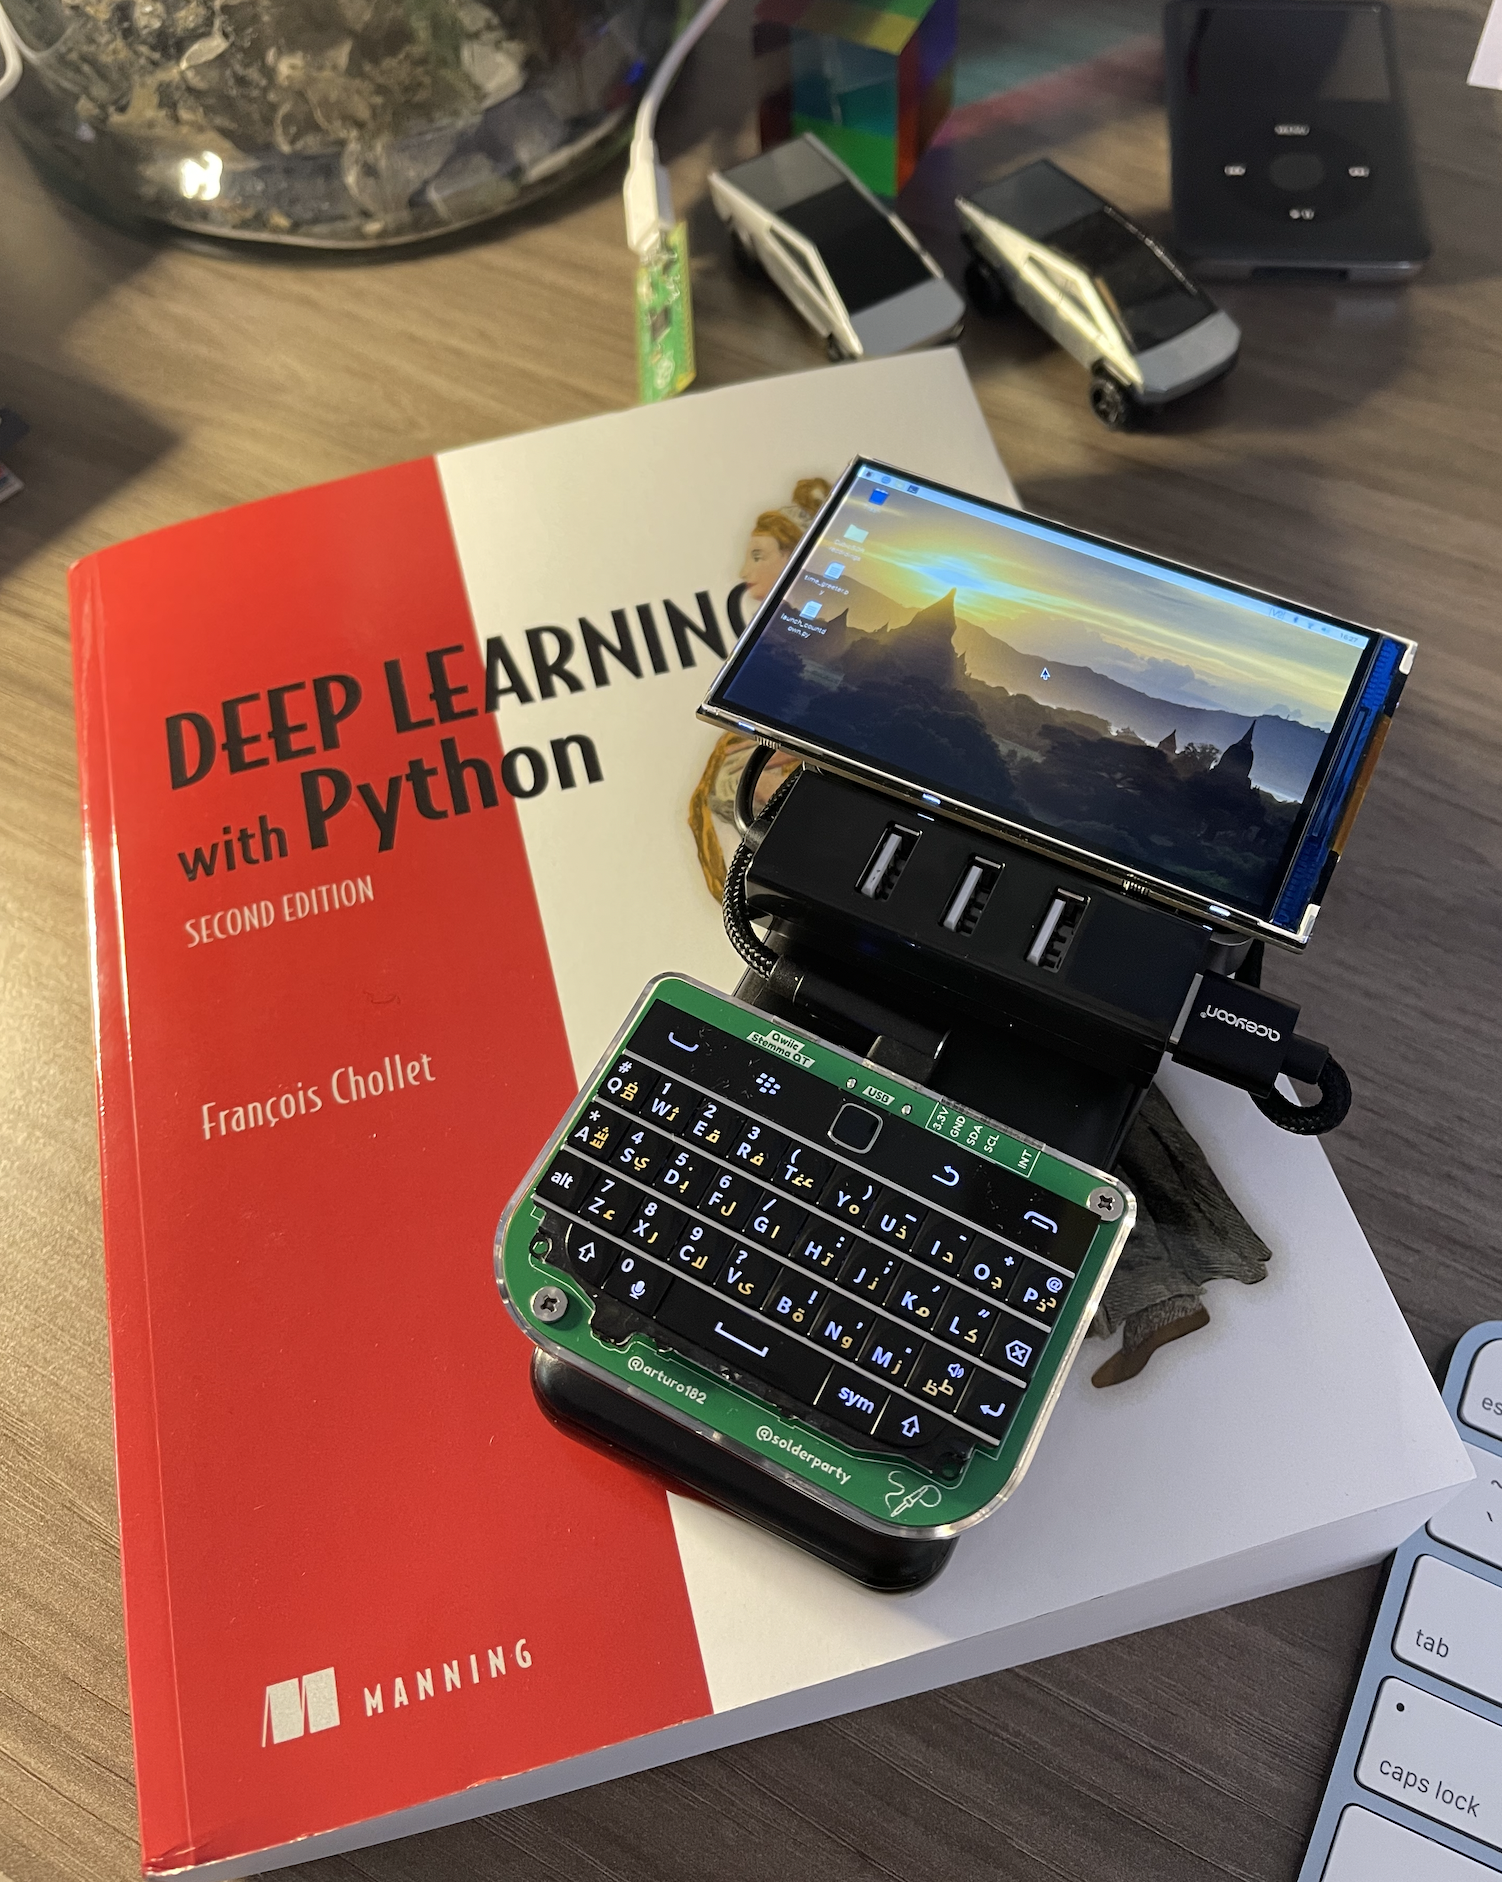
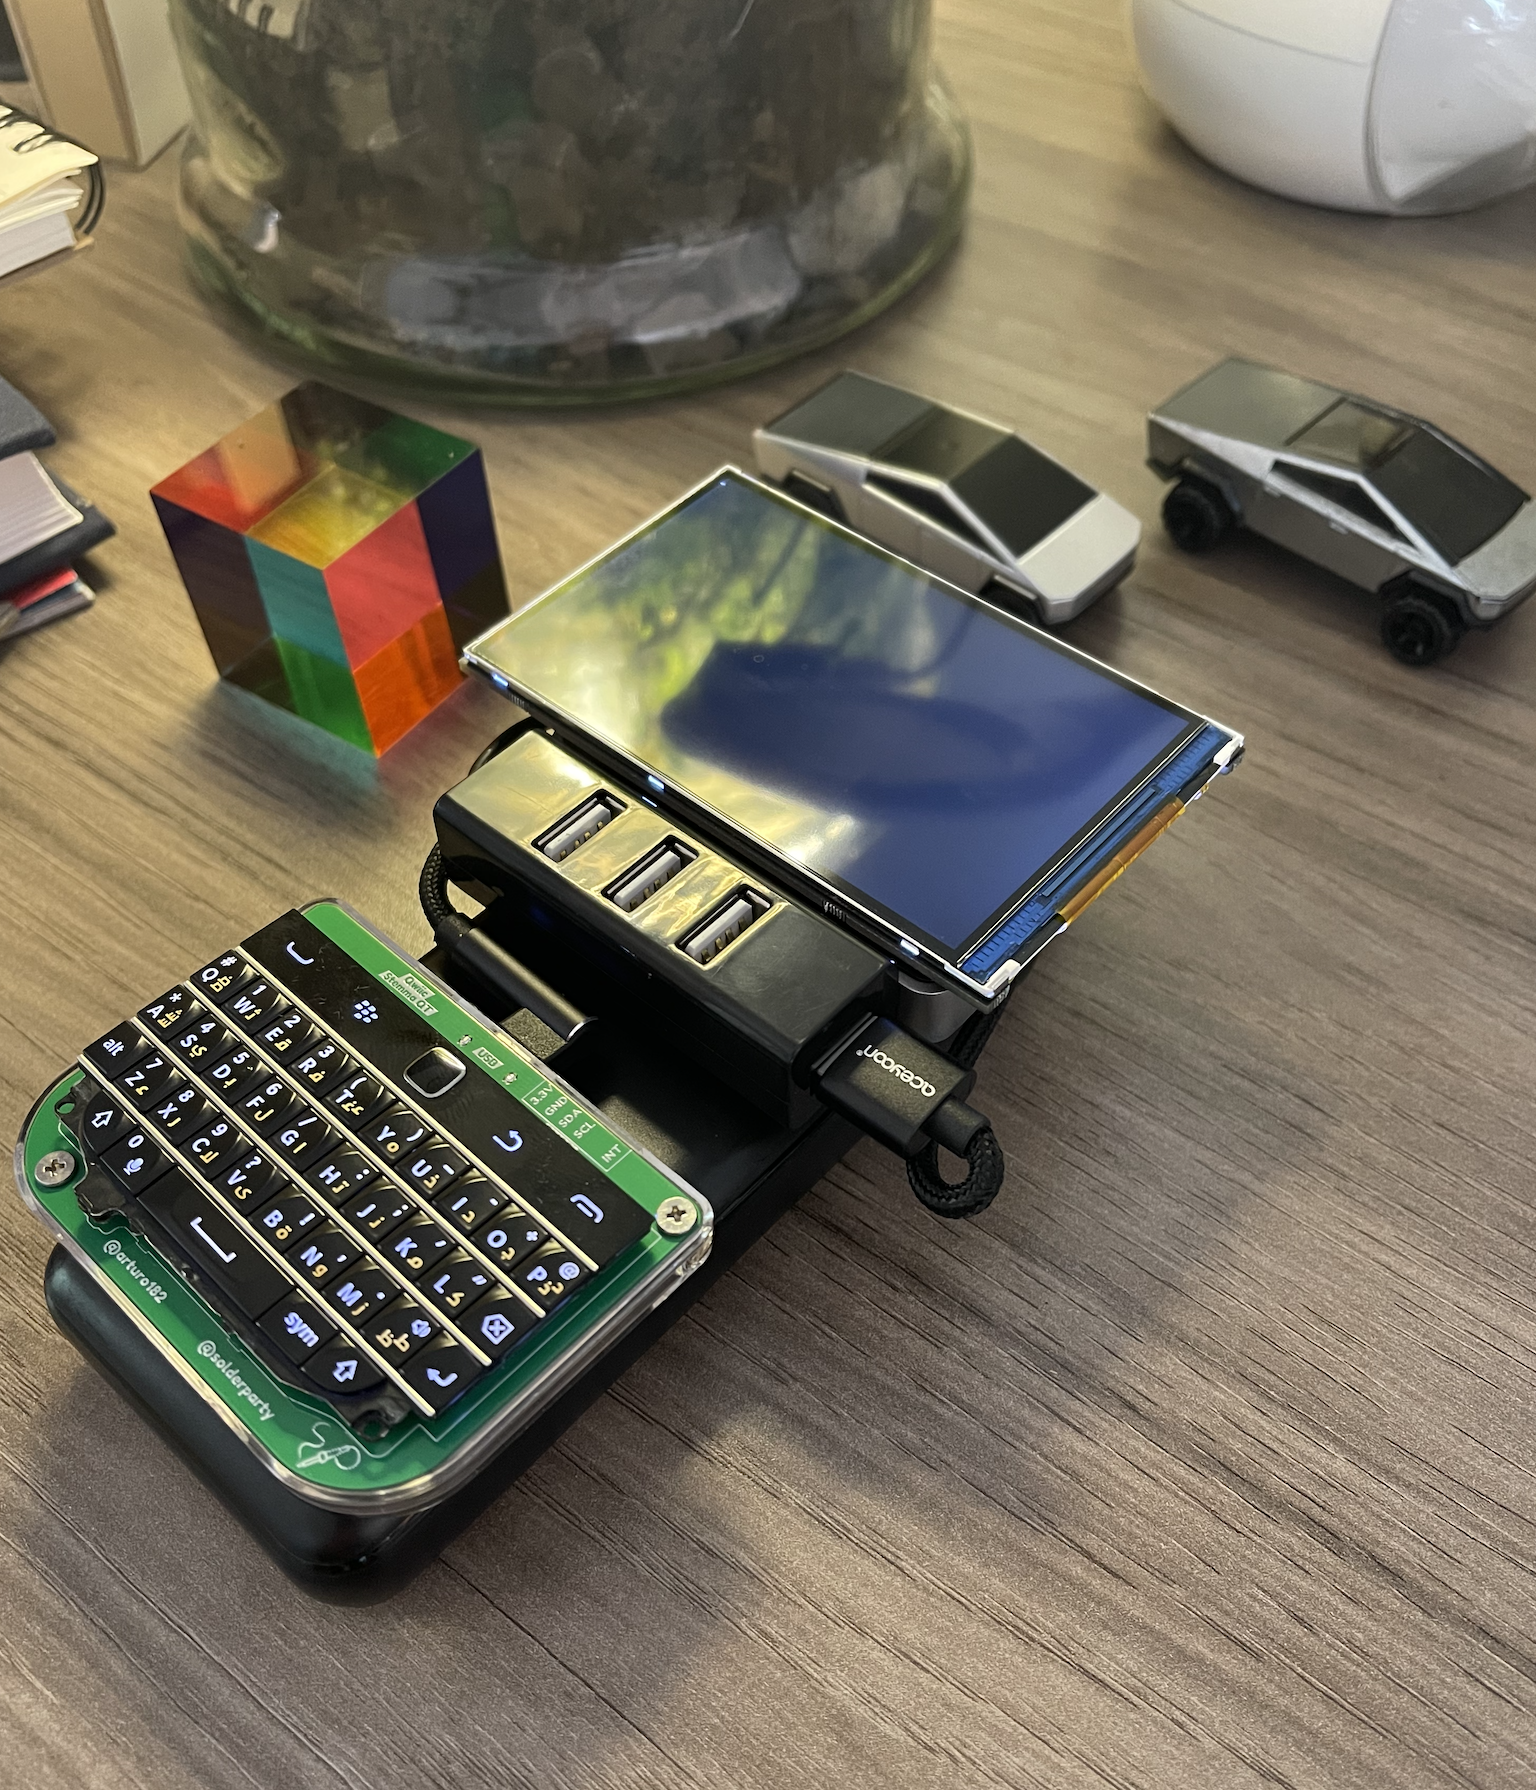
Here’s the keyboard I used. It’s absolutely awesome, and includes a surprisingly good mouse
input. It’s not perfect in all scenarios, but it gets the job done and well. Plus it’s very satisfying
to use, as BlackBerry made great input devices. Frankly, this keyboard is what makes this build
possible. Super super grateful to the creator. Here’s the link:
https://www.tindie.com/products/arturo182/bb-q20-keyboard-with-trackpad-usbi2cpmod/
Connect the keyboard with this sweet little angled USB C cable to the (see below) USB hub
without too much extra cable or fuss. Link here:
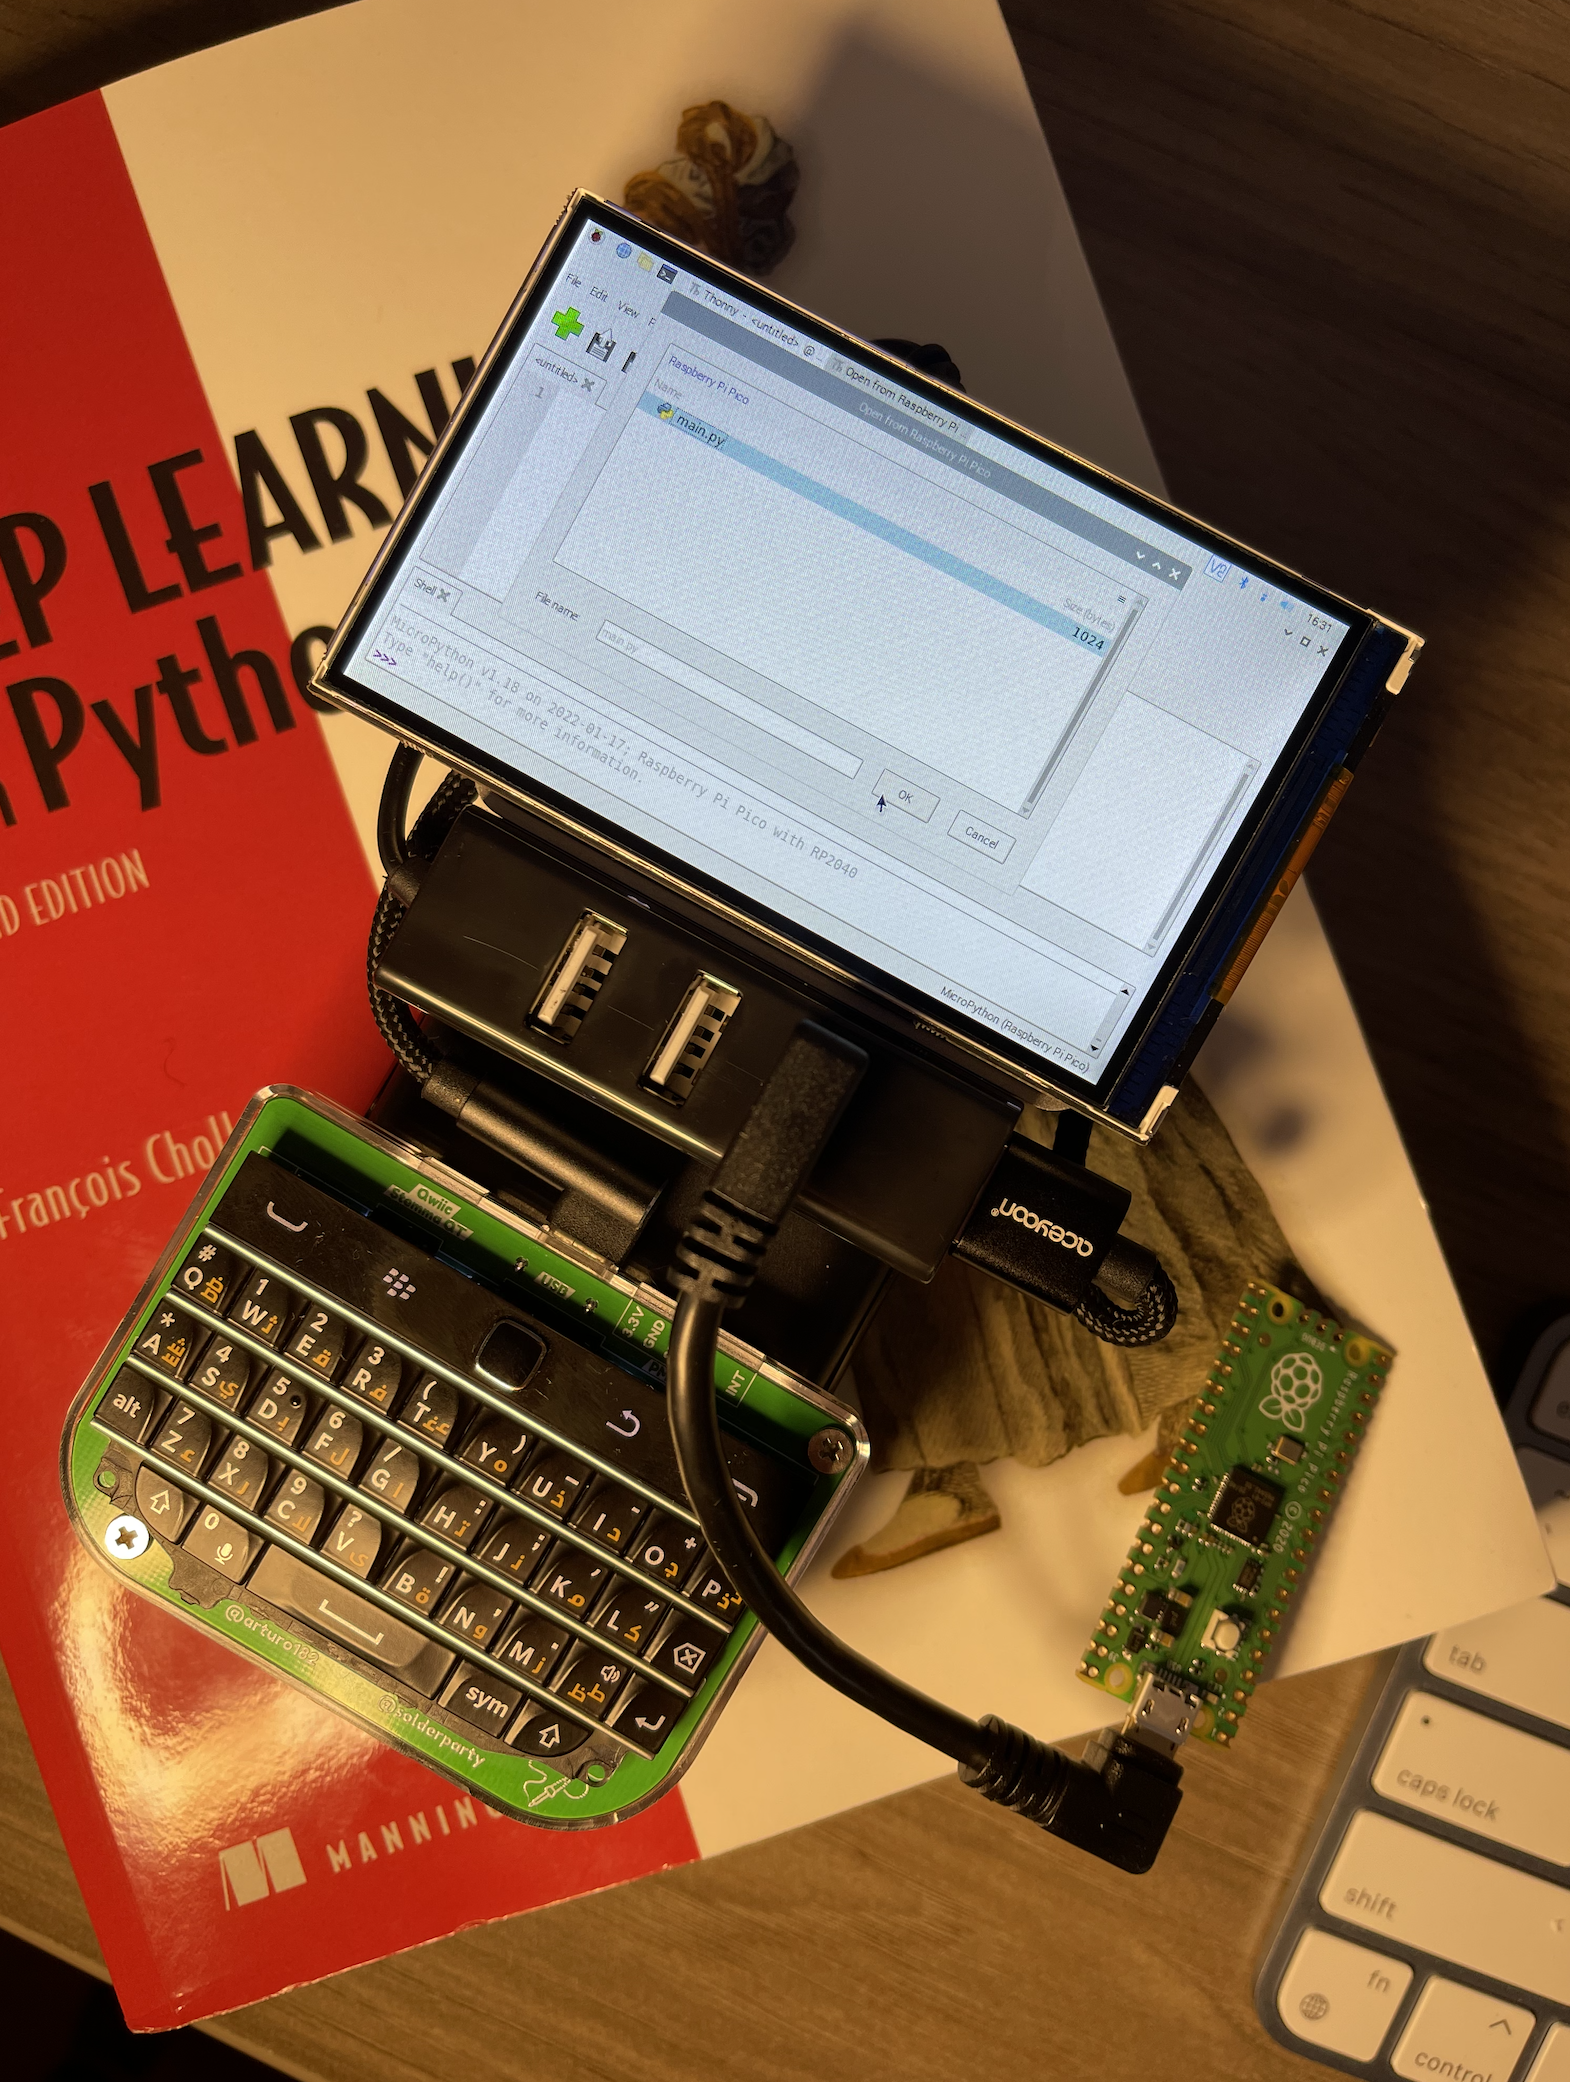
The USB hub will allow you to still have open ports to do things like put MicroPython on Pi
Picos, or pretty much whatever else you’d like to do with more USB ports. I am not 100% super
confident it doesn’t have connection stability issues, but it’s worth the occasional unplug/replug
to have it in this form factor. Plus it’s micro-USB, so plug and play with the Rpi. Link:
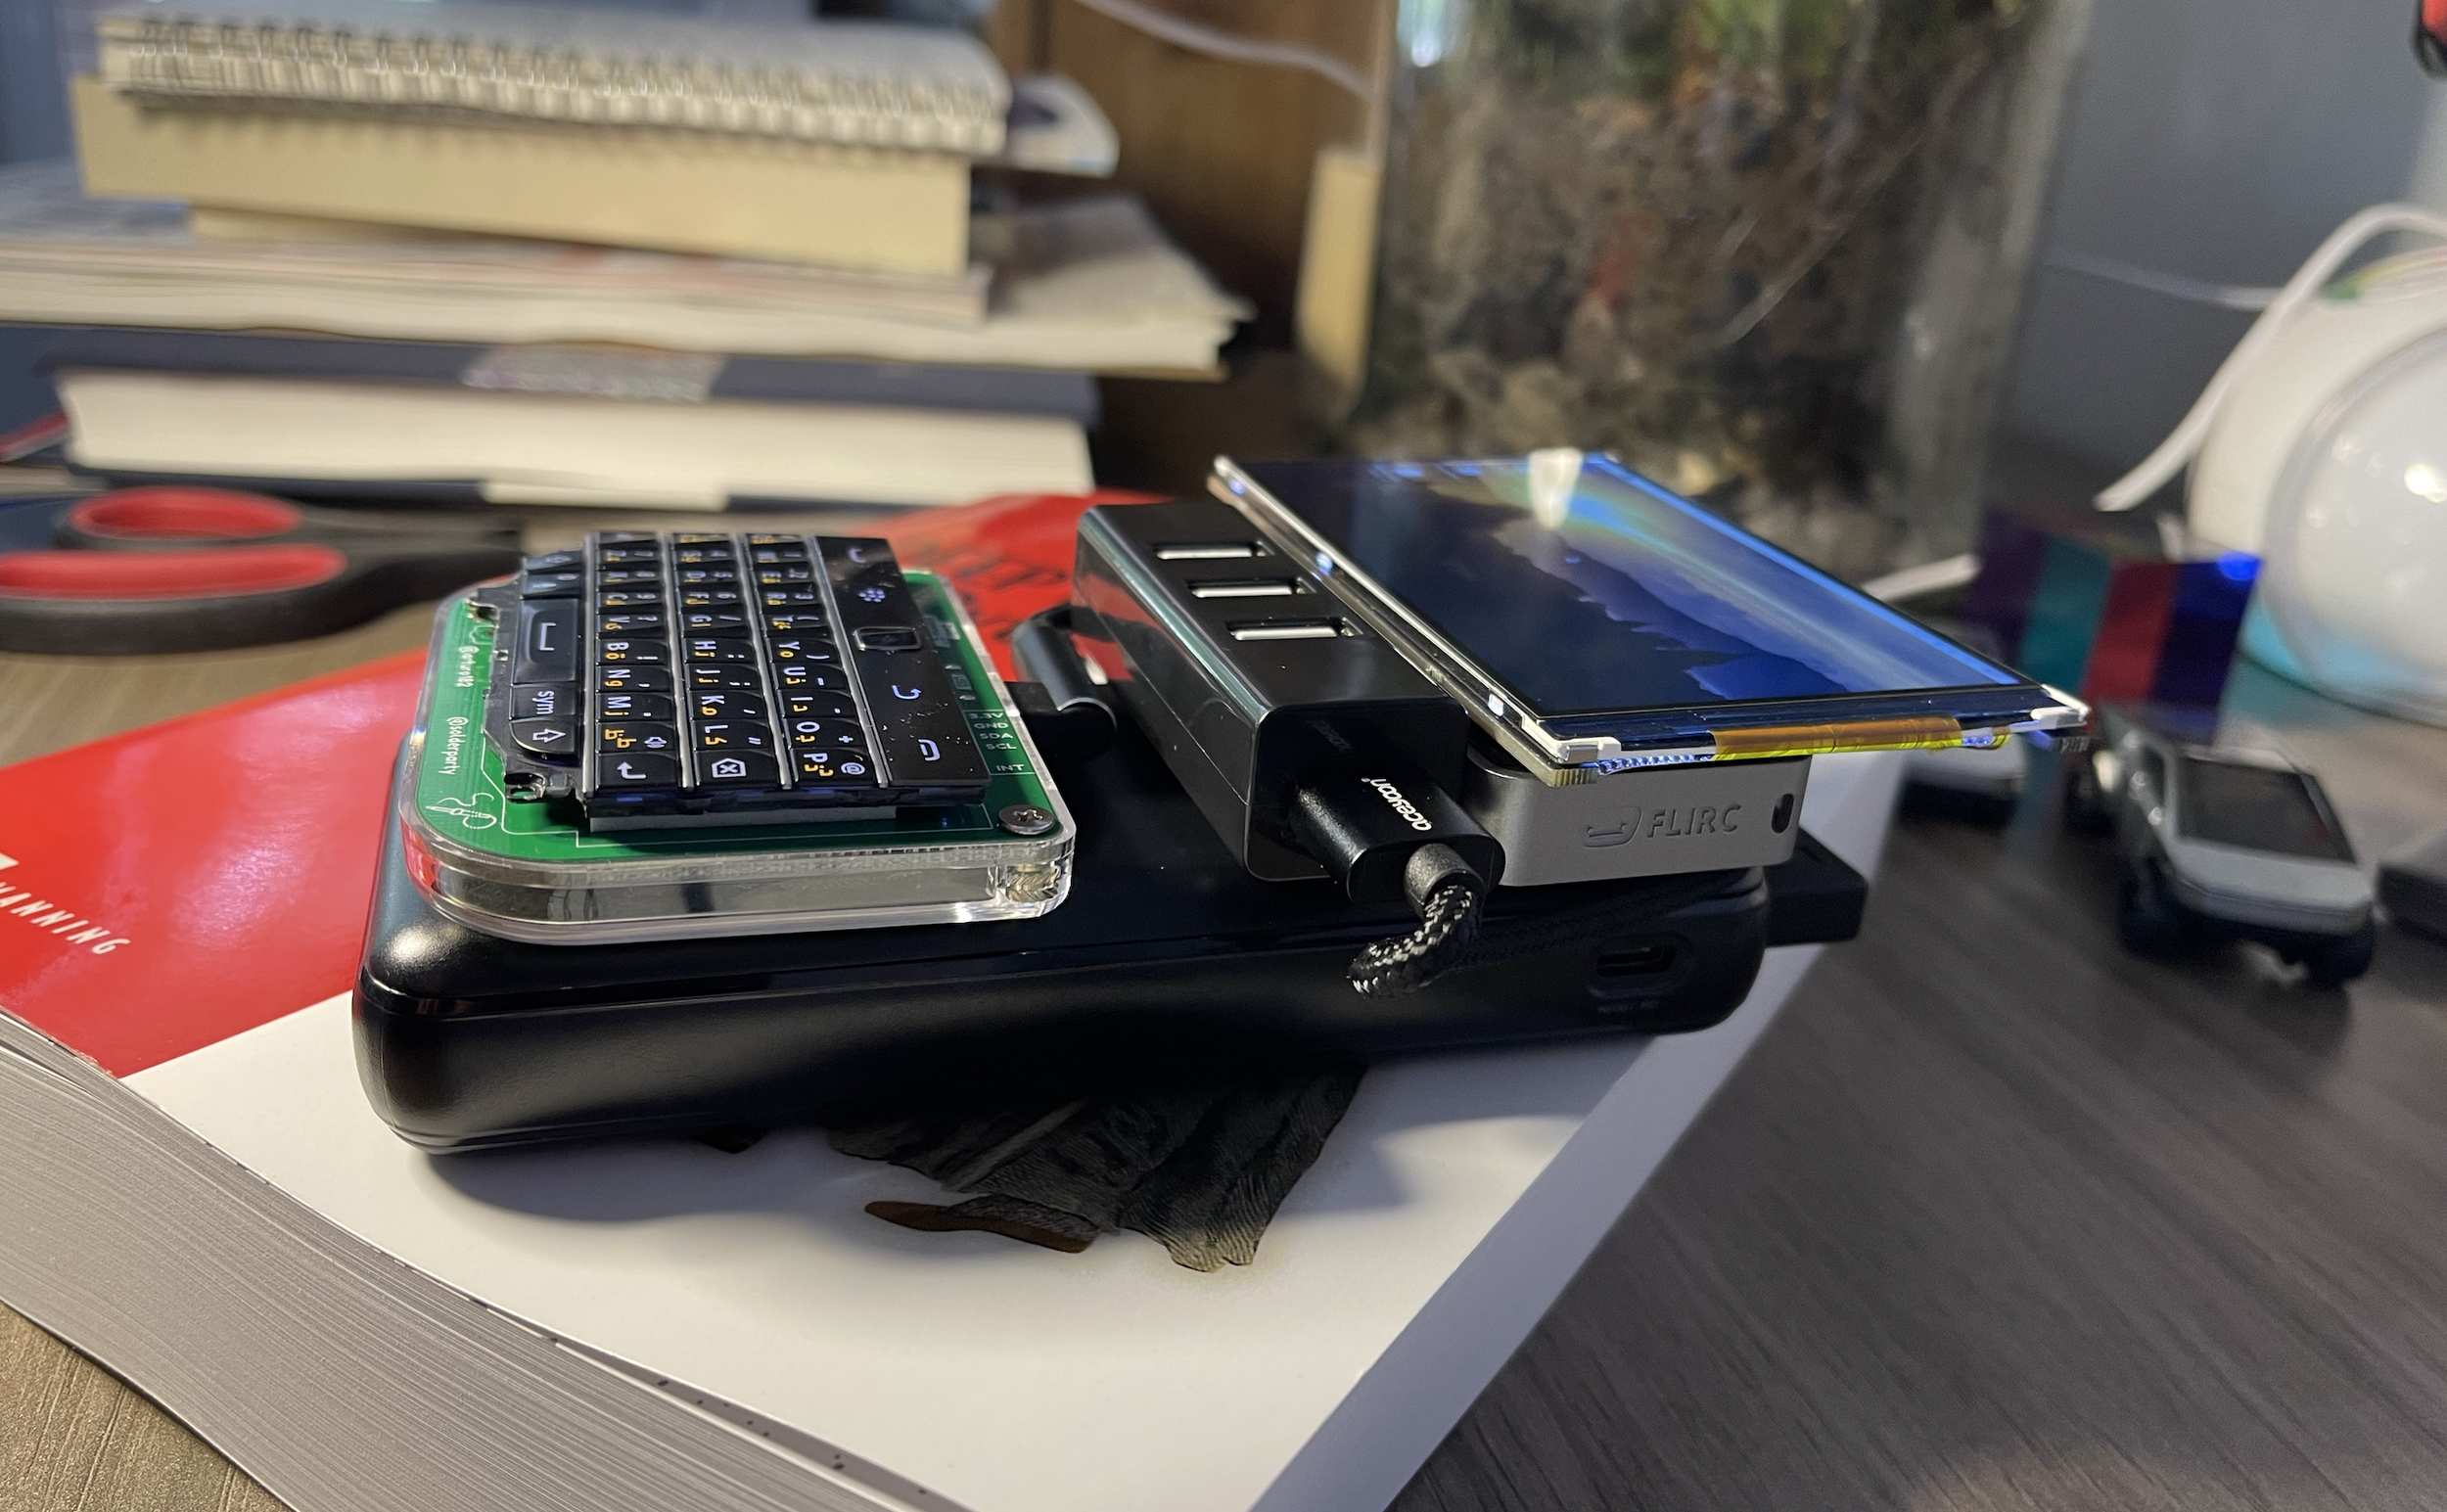
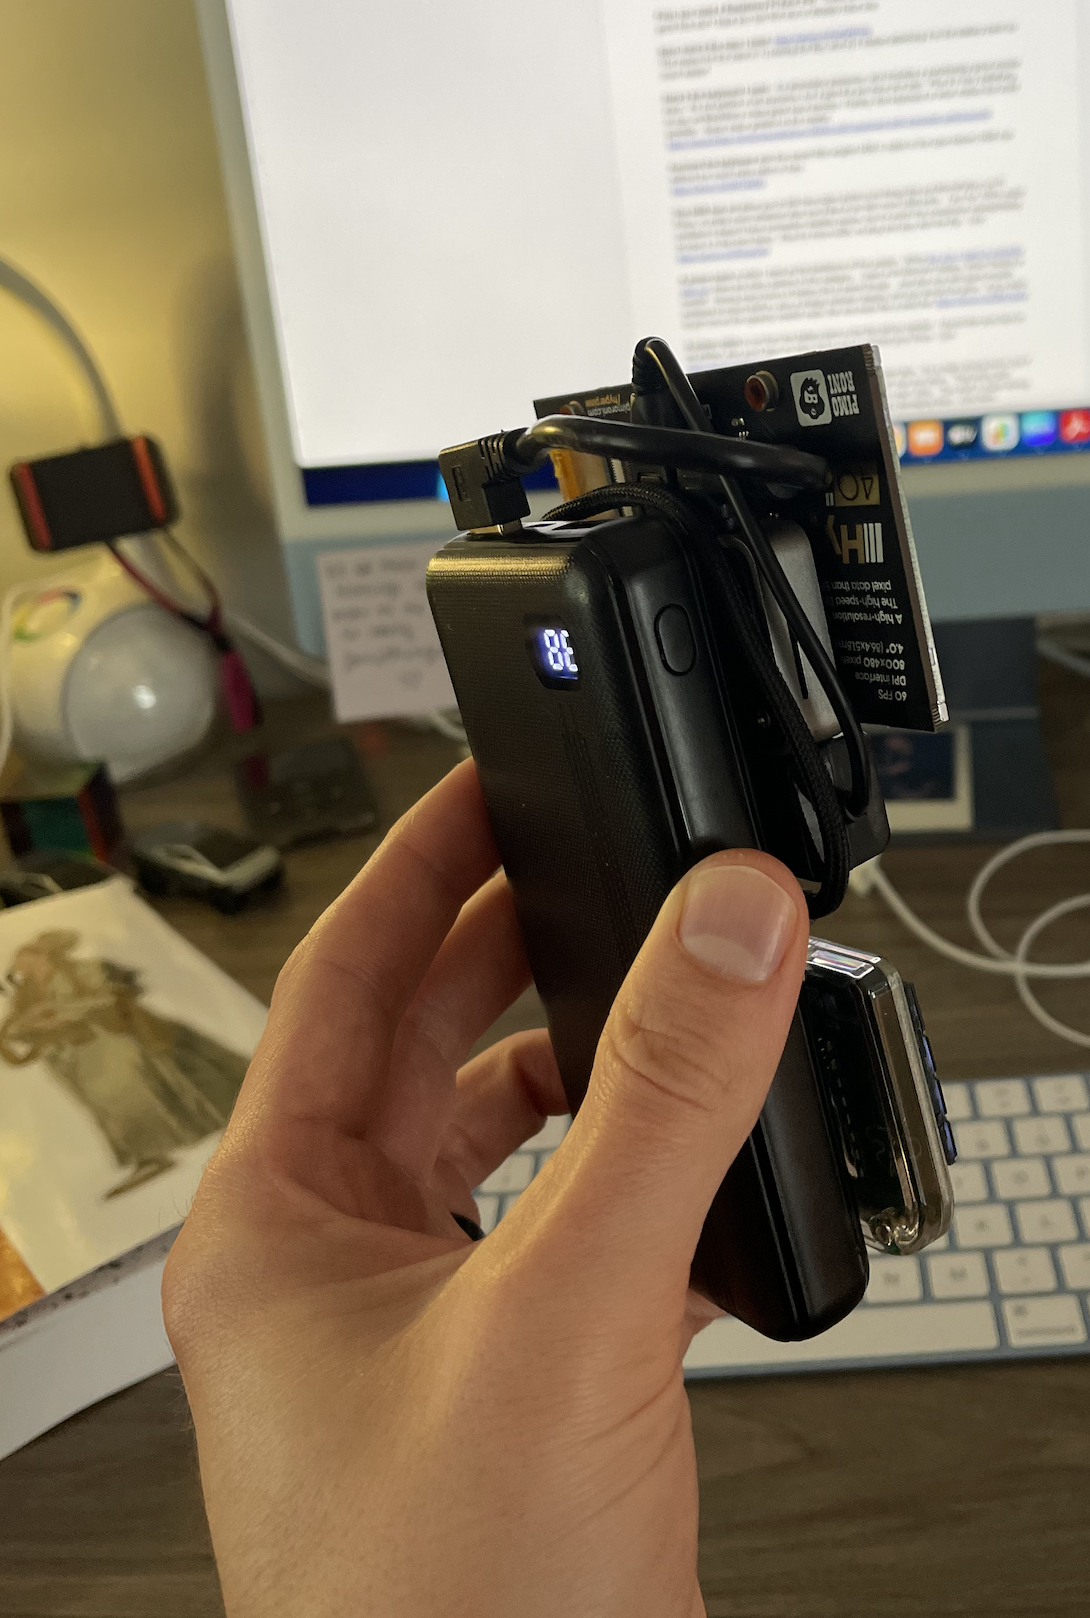
A power bank is what I used as the backbone of this project. While the one I used is currently
sold out, there are many options in this category. I used a 20,000mAH battery, which frankly is
overkill. Having many hours of battery life is sweet though. Just pick one with good smooth
surfaces to mount stuff to, plus a charge indicator display, and you should be good. If you want
to join me on the capacity overkill route, this one looks like a solid bet: https://amzn.to/3Nk6Mx8
A power cable to run from the battery bank to the Rpi will be needed. I found this one here to
be perfect, plus you’ll have an extra one to use to connect your Picos. Link:
Stick it all together with this crazy awesome double sided tape. It’s a really strong bond, but if
you HAVE to separate what you put together, it comes off nice and clean. That being said
though, HAVE A PLAN before you start sticking stuff onto each other. This stuff is super strong,
so it takes patience to take things apart without potentially damaging them. Link here:
The display I used is the wonderful HyperPixel from Pimoroni. I used the rectangular non-touch version, here: https://shop.pimoroni.com/products/hyperpixel-4?variant=12569539706963
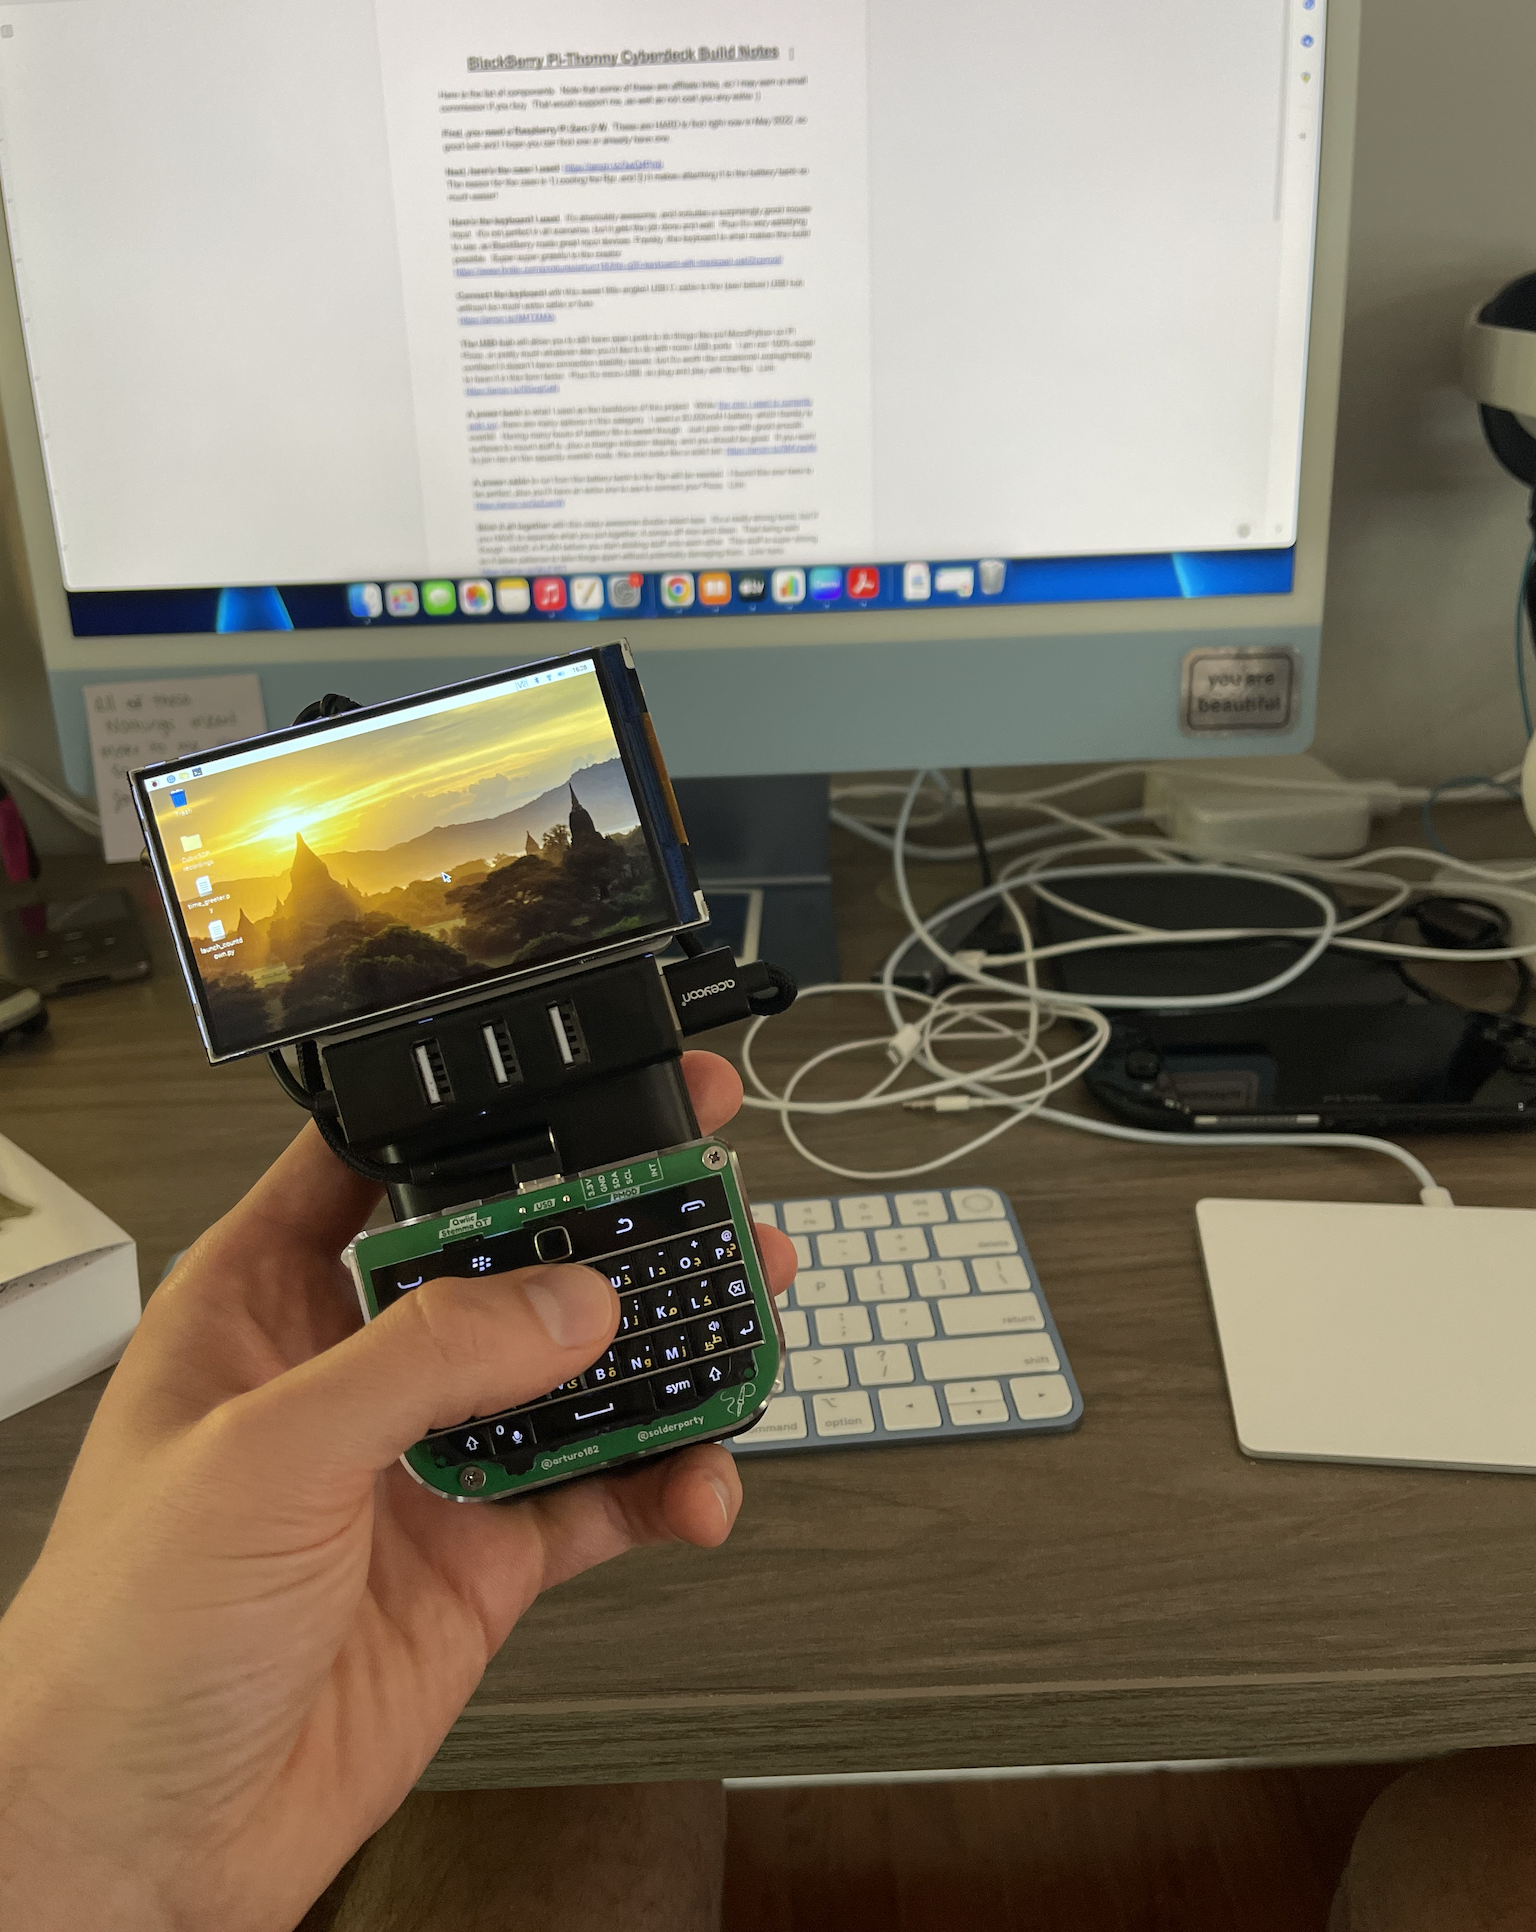
I am really enjoying using this to practice my Python skills, and have the ability to put code on
Picos easily and in a mobile manner.
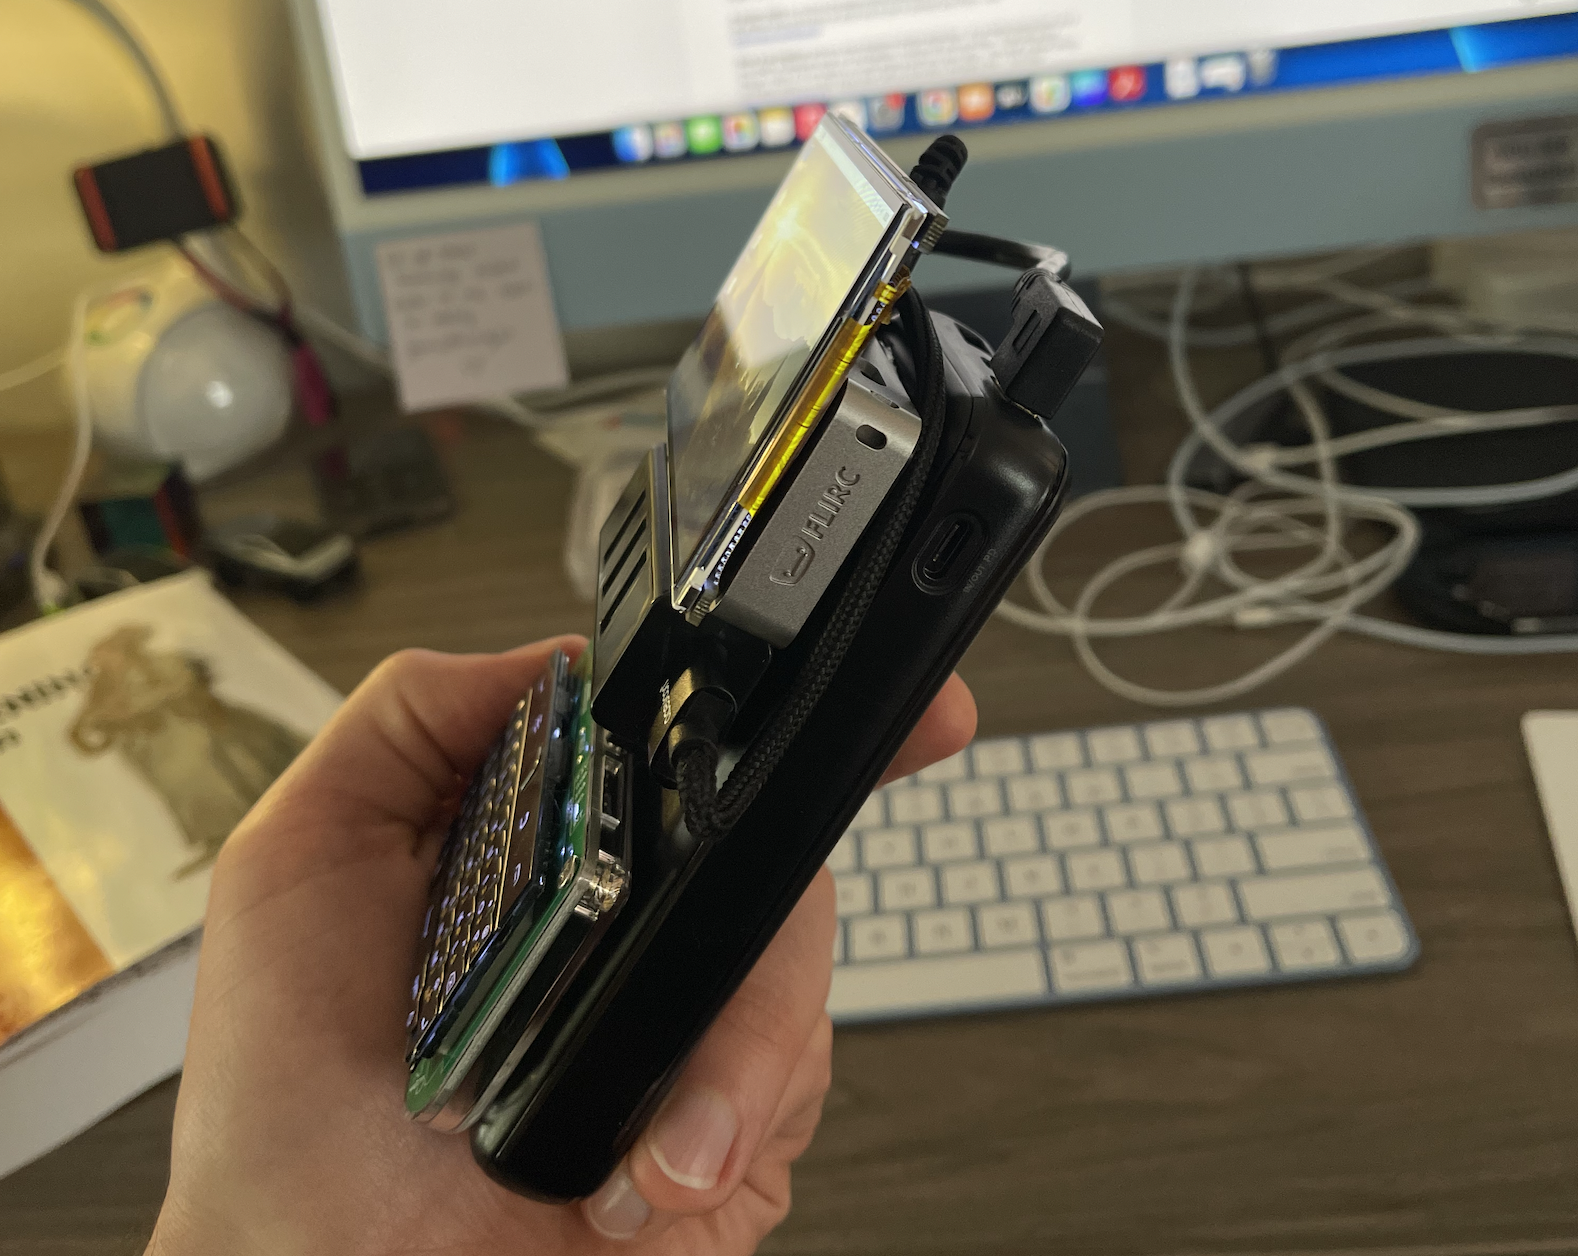
It’s easy to use, a bit heavy but not that bad actually.
Do note that it’s a bit vulnerable. I would not be optimistic about the screen surviving a drop, for
example. So durability is something of an issue, but a 3D printed case would solve that. If only
I had such skills! Haha. Let me know if you solve this.
Thanks for reading! Would love to hear from you if you have questions, feedback, or built one
yourself :)
Twitter: @chrisremboldt
Email: chris@chrisremboldt.com
